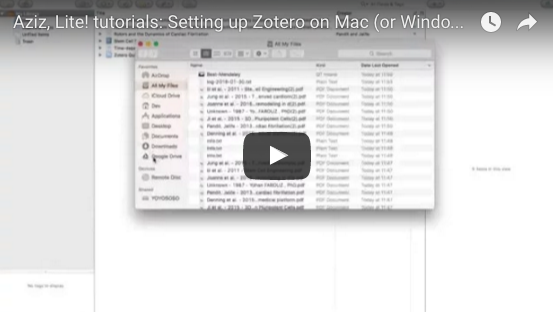
Tutorials: Manual Setup of your library's database and folders
This tutorial describes how to set up manually the library you want to connect to ZotEZ². With
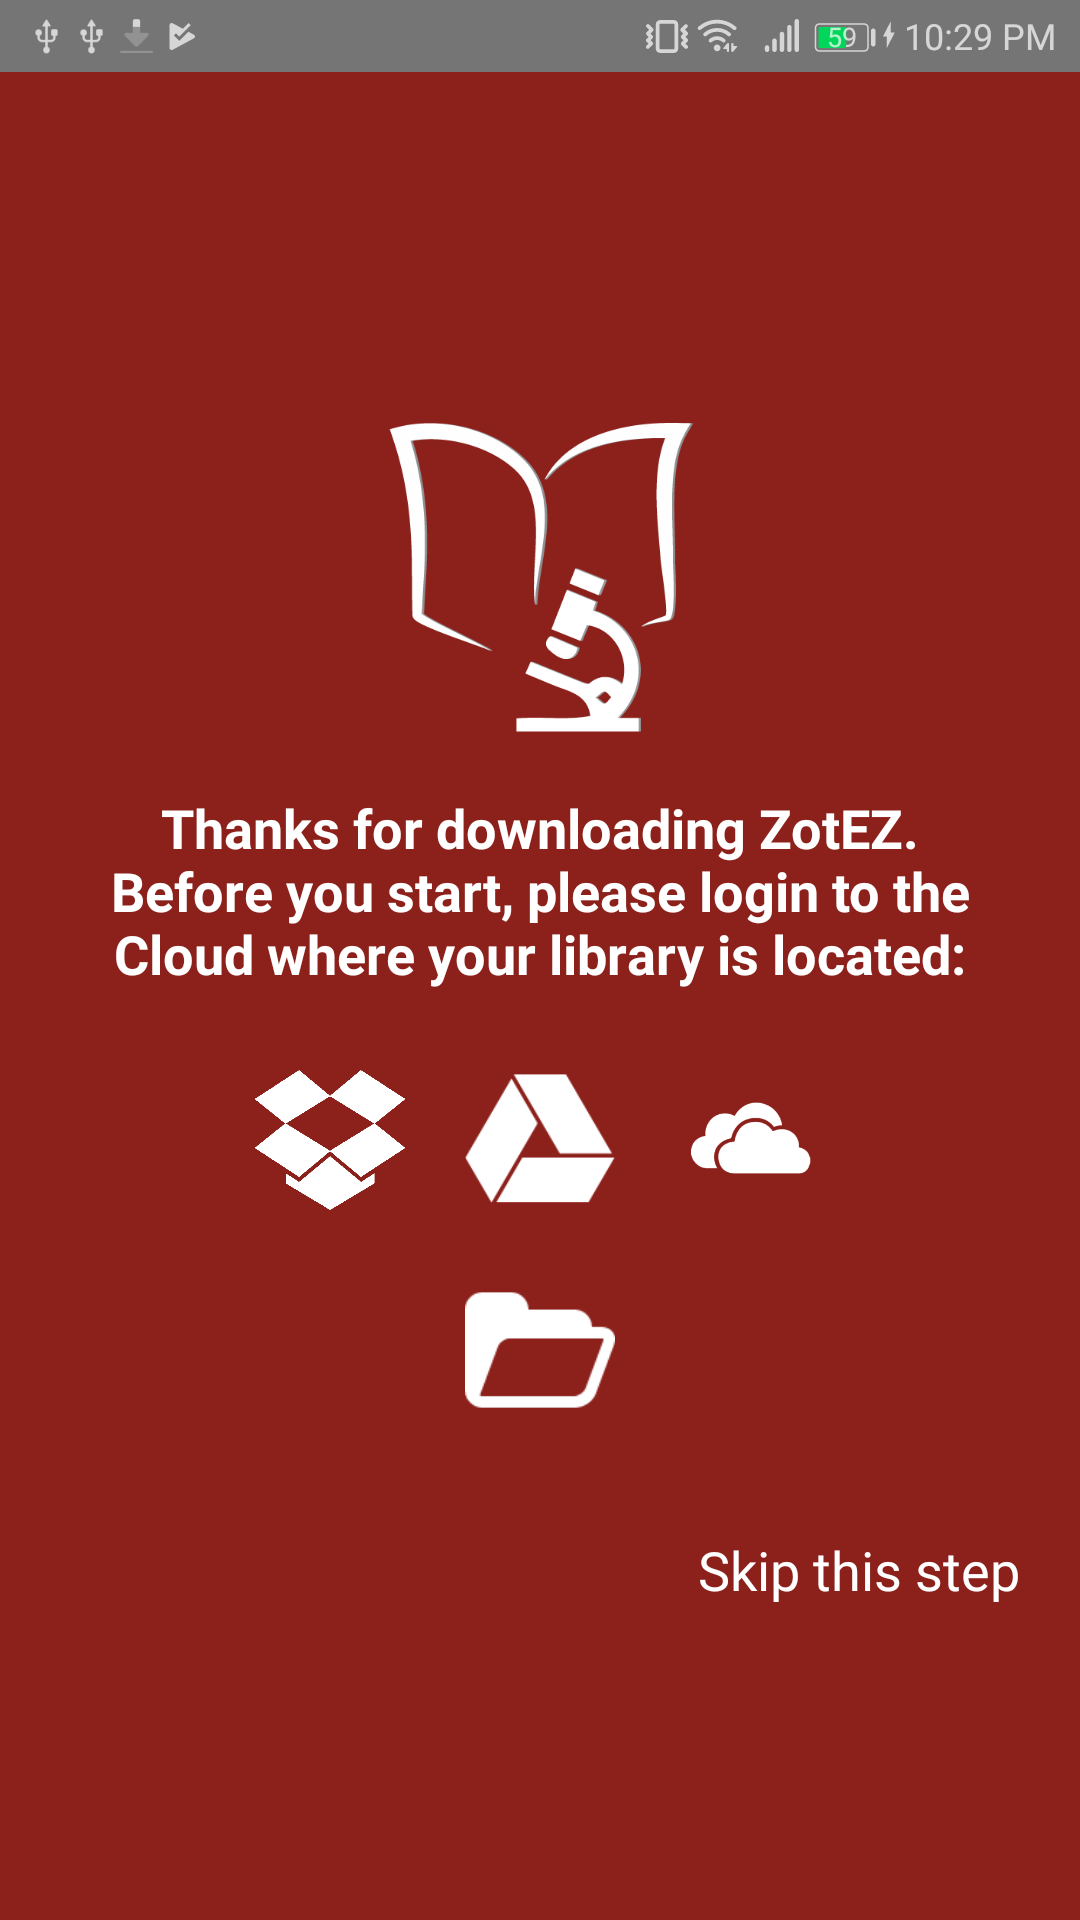
ZotEZ², you have the possibility to force the app to go to one specific folder on your Cloud.
This means that you can have multiple library on one cloud (let's say Dropbox), and still be able to choose which one will be synchronized with ZotEZ²!
It also means that you can have your database file (.sqlite) in one place, and your library folder in another place!
Finally, it implies that you can use attachments rather than direct storage folder linking of the PDFs.
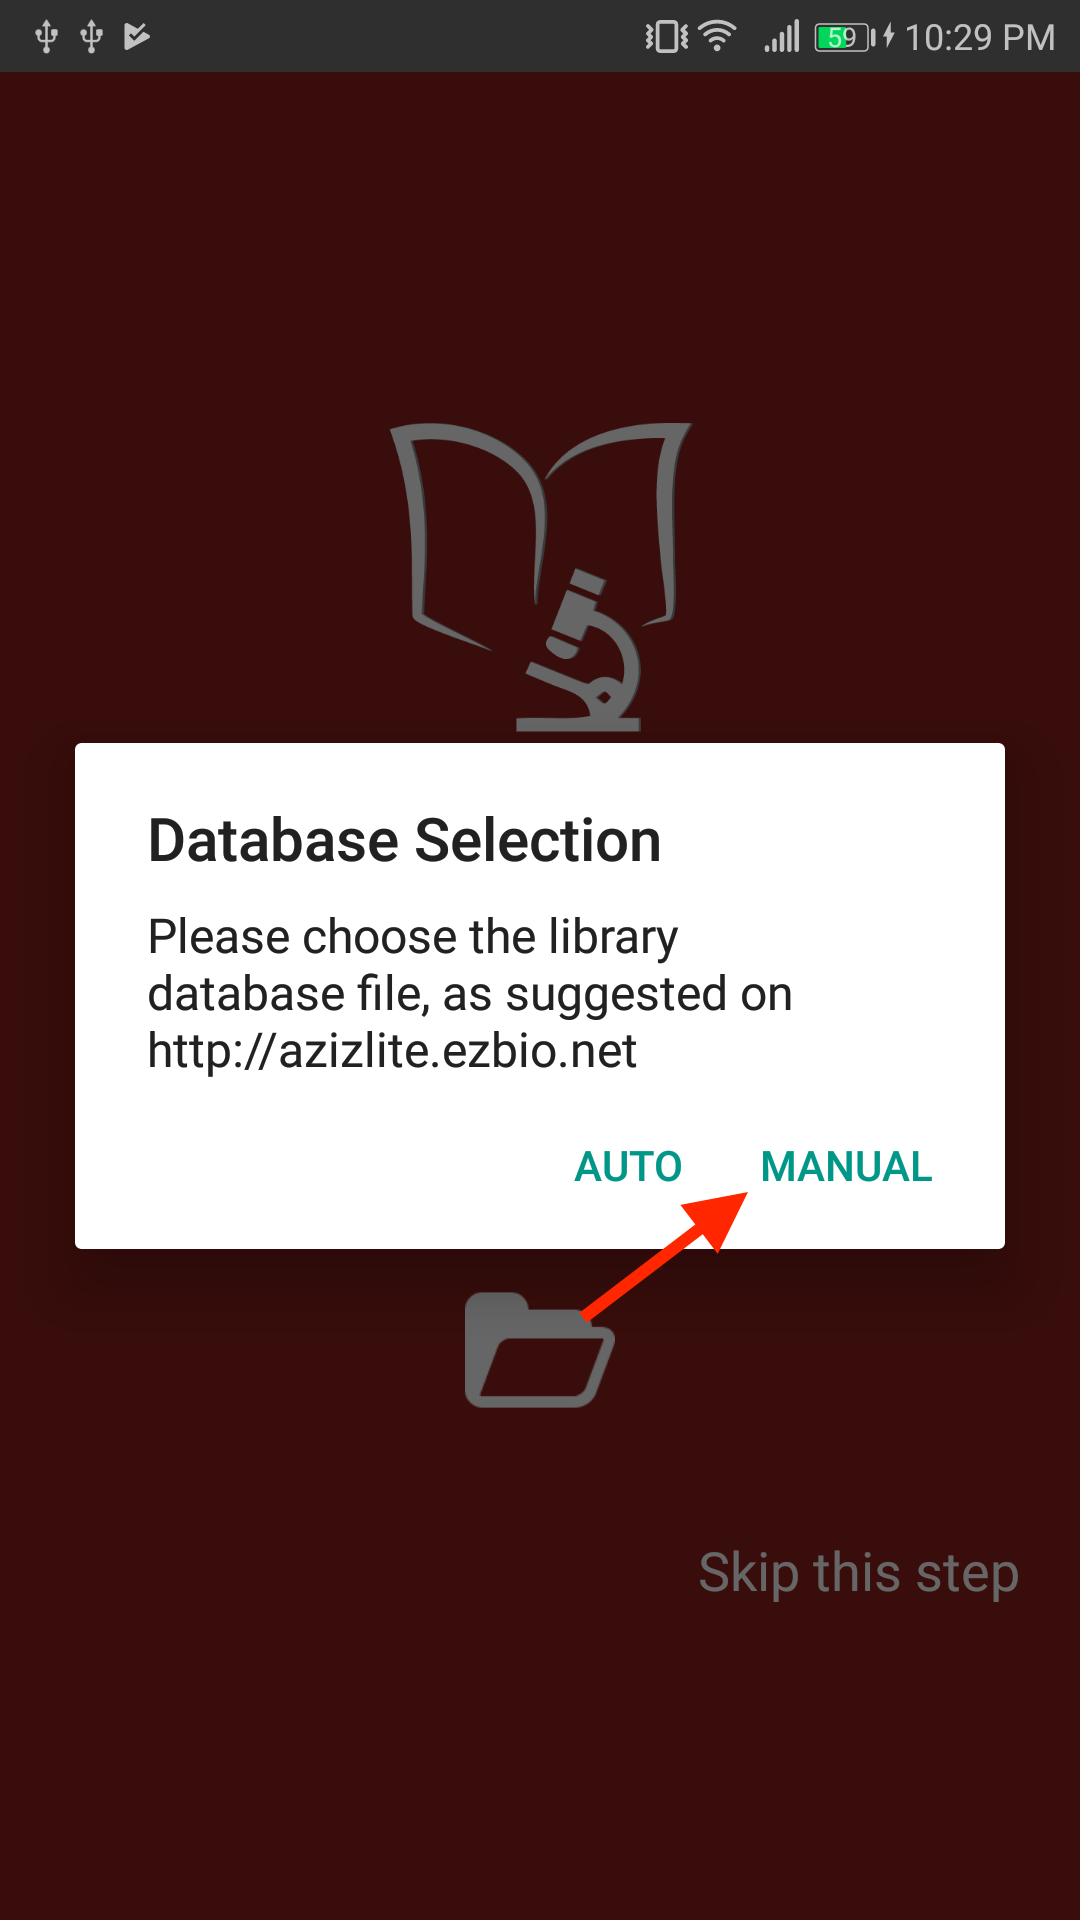
1. Setting up the library's database:
The little question marks (XXX INSERT Image XXX) in the setup process are here to help you understand how all these steps are related to your standard Zotero Desktop configuration.
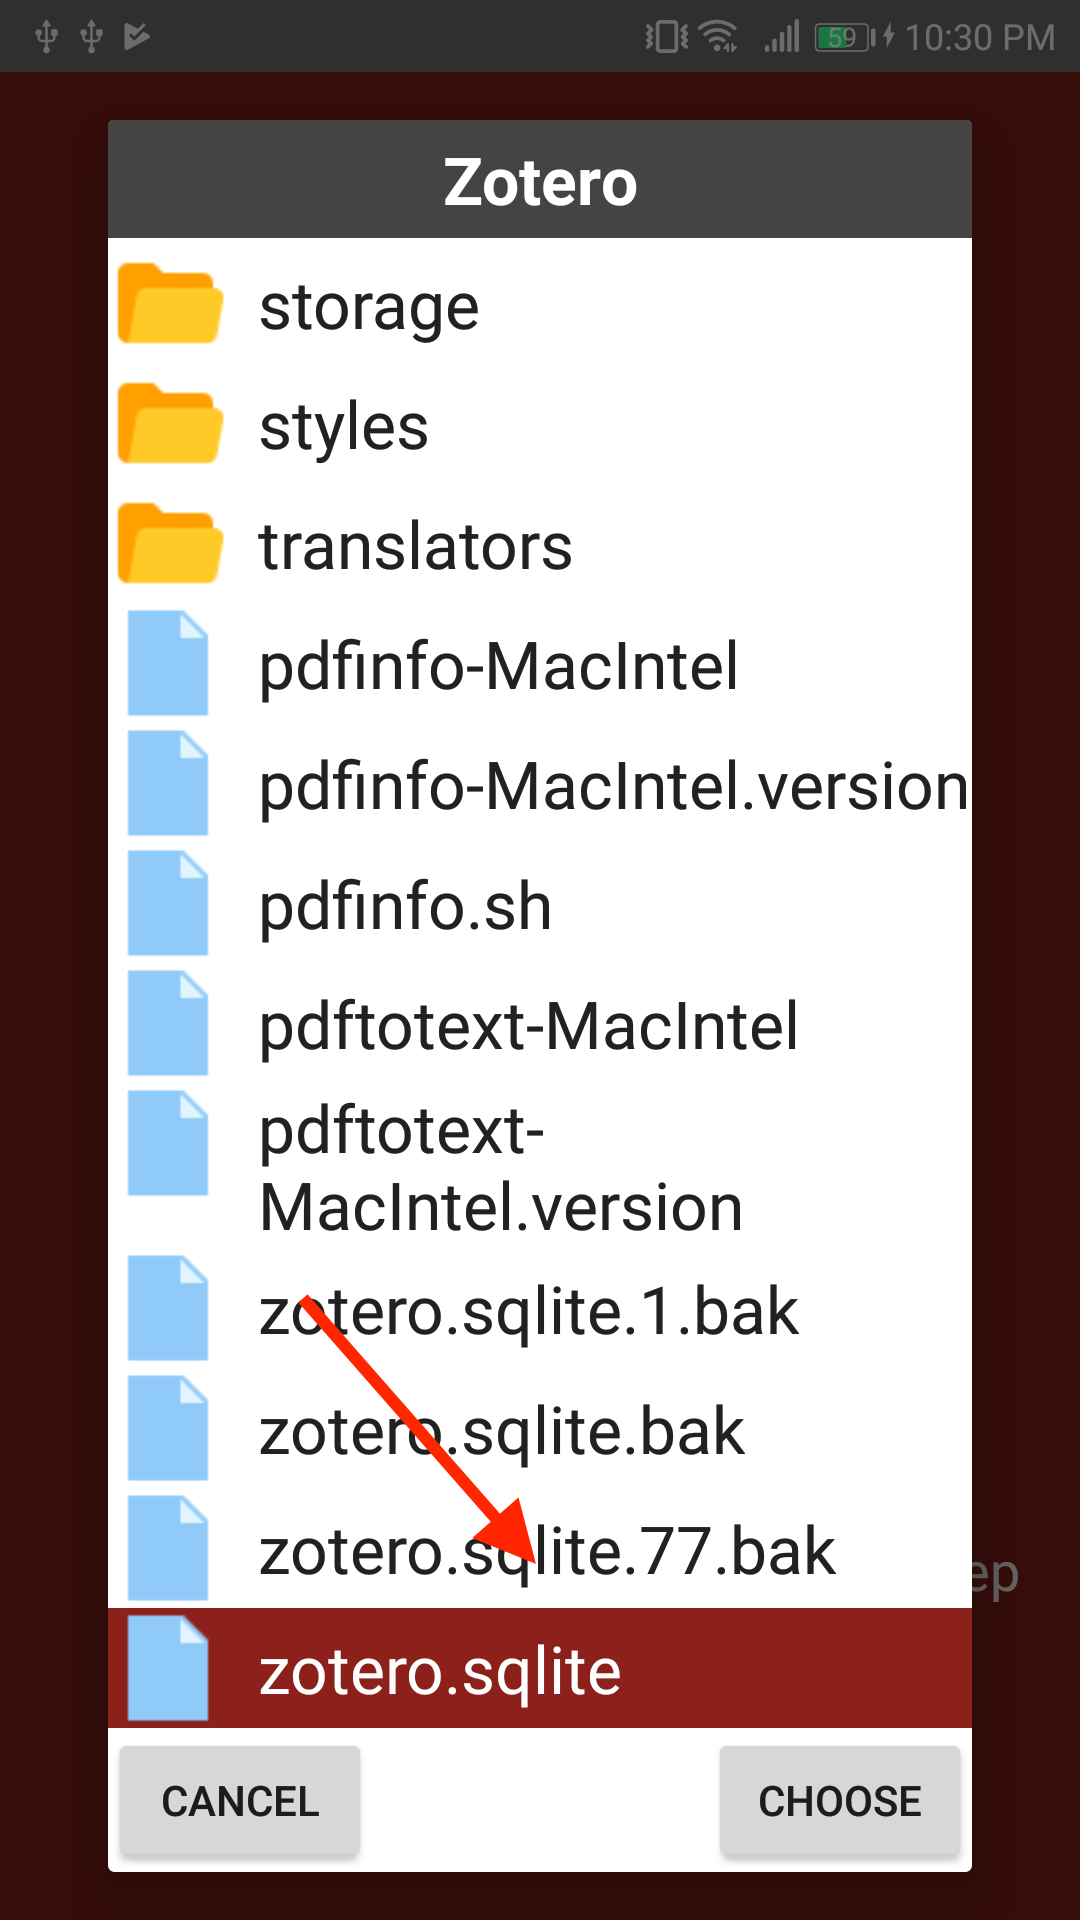
Here, when we refer to the zotero.sqlite, here is what is meant
Note: While ZotEZ2 is read-only and won't ever modify the zotero.sqlite in your Cloud, Zotero advise against storing this file on a cloud, especially Dropbox. Corruption might occur, but it will never come from a ZotEZ2 problem, as long as ZotEZ2 stays read-only.
One way to follow zotero.org's recommendation while keeping the option to store your library on another server than Zotero's servers would be to place your pdfs on your favorite Cloud and transfer locally (on your Android device) your zotero.sqlite file on a regular basis.
Some tools can help you keep your zotero.sqlite safe while placing a copy on a cloud, but we'll cover that in another tutorial.
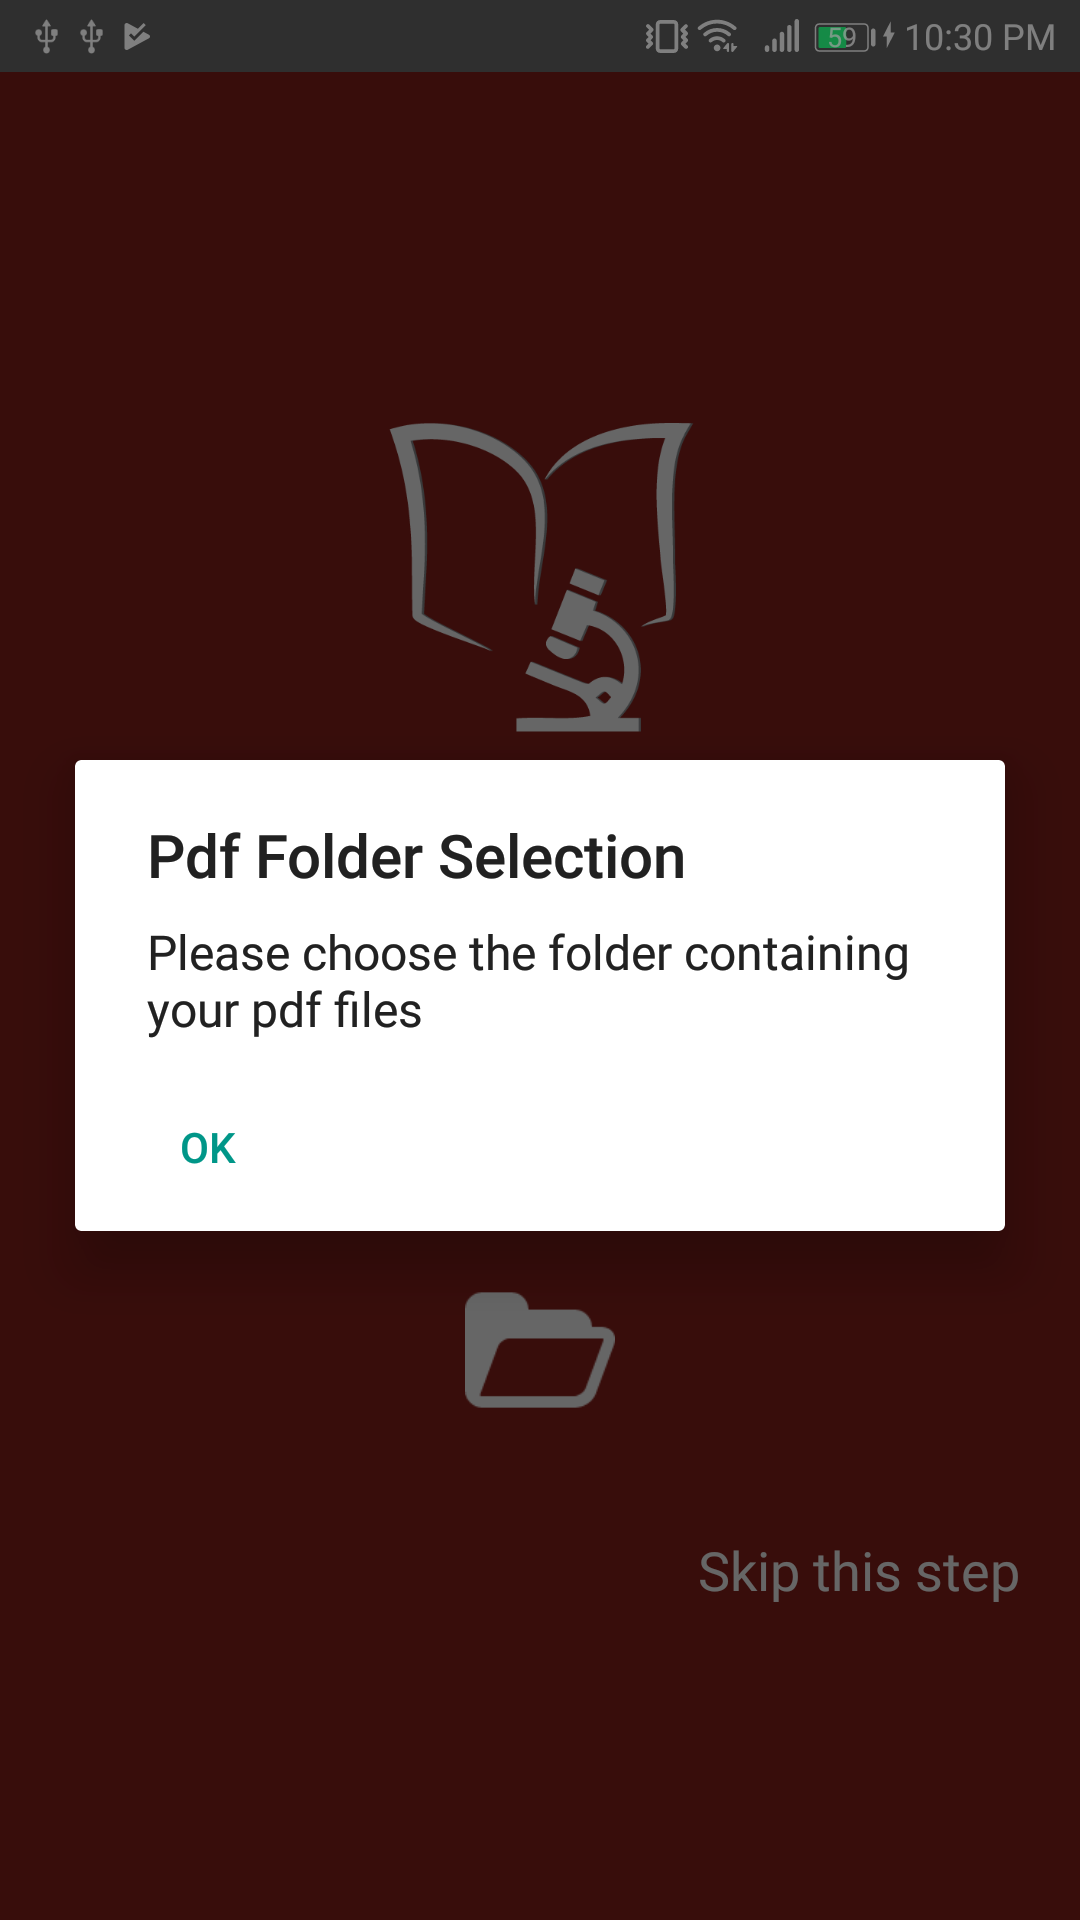
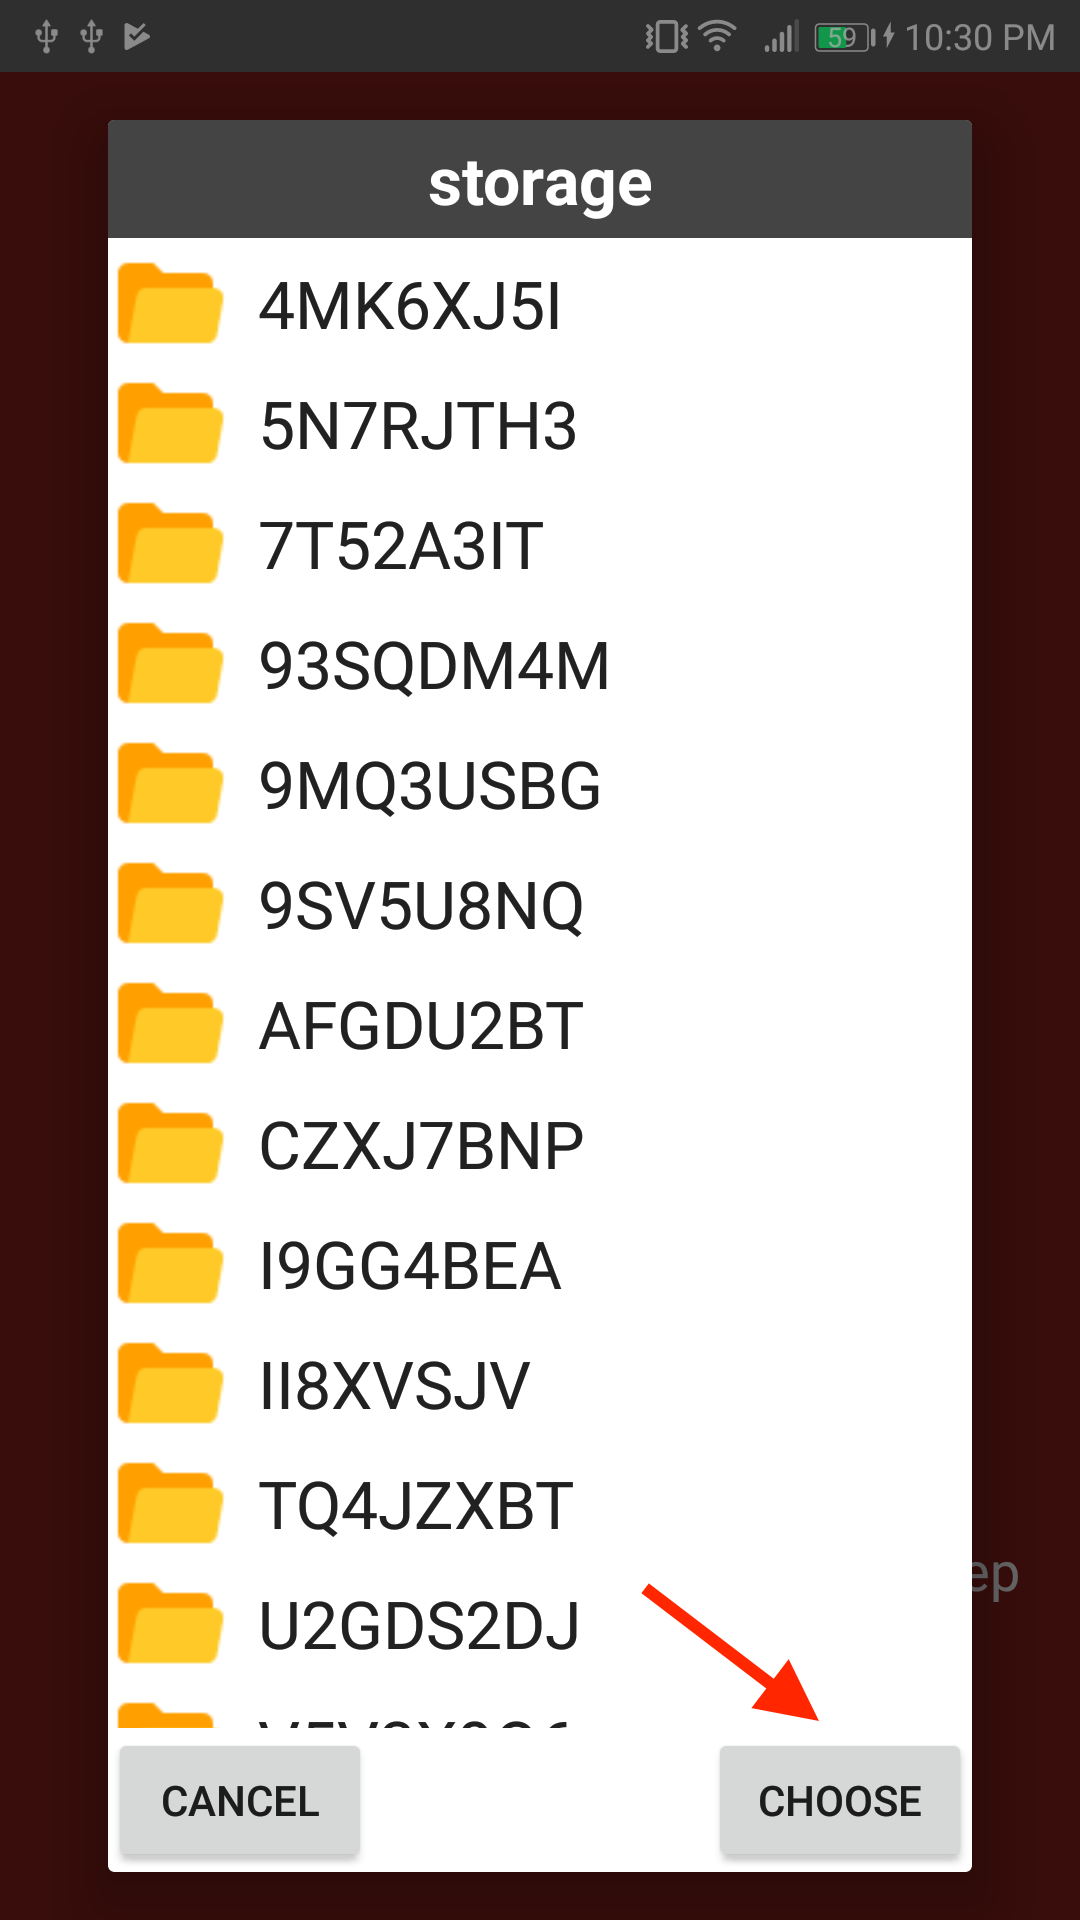
2. Storage folder setup:
In this second configuration step, you can change the searched locations for the regular PDFs (storage location) as well as for the linked attachments (attachment location).
This means that you don't actually need to even have your pdfs in the same cloud as your Zotero.sqlite!
For a deeper understanding of the difference between the two, you can read the storage help as well as the attachment help
Note: If your storage folder is in the same Cloud and in the same folder as the zotero.sqlite, then you can skip this step and keep Automatic Setup checked.
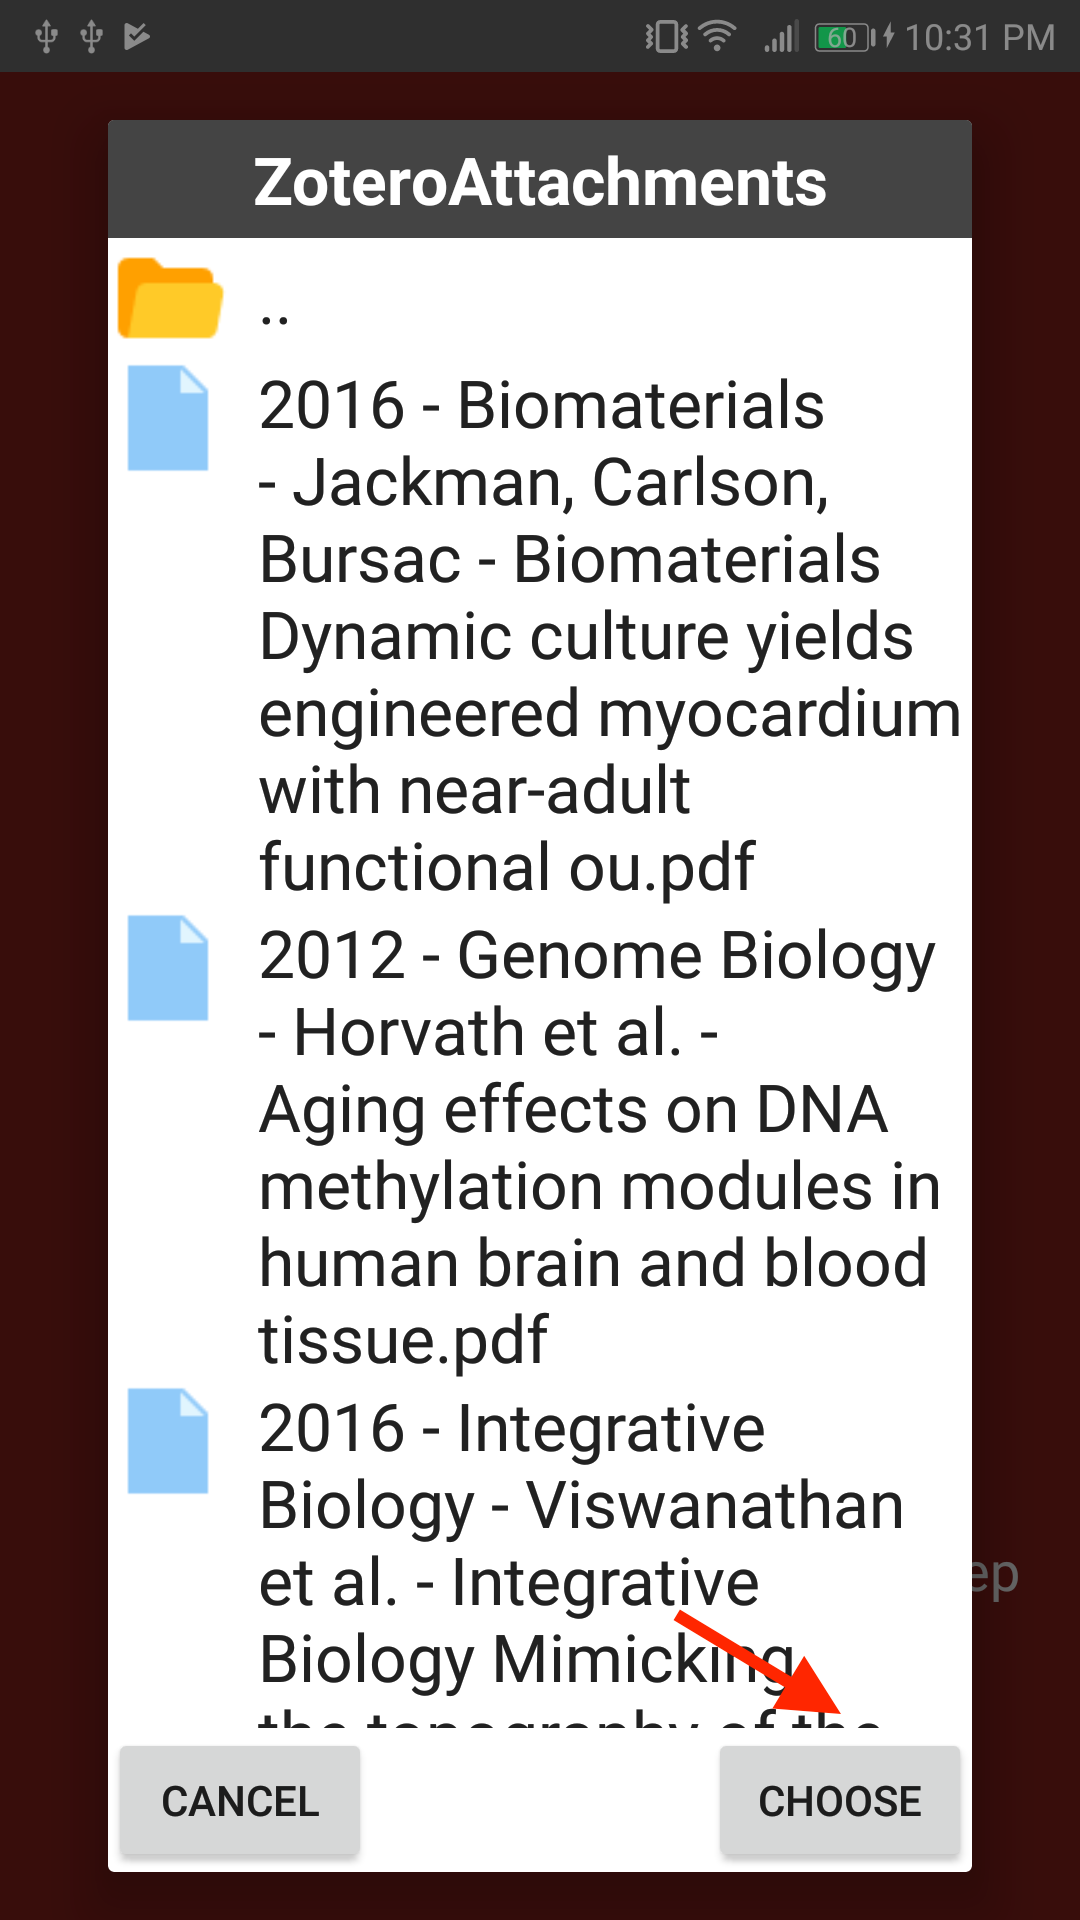
3. Attachment folder setup
Here, the automatic configuration is not actually performing anything: it would mean that you don't have any linked attachment in your library. This is almost certainly not the case if you are using ZotFile or another pdfs management add-on, as they usually create linked attachments rather than regular pdfs.
Voilà, after clicking on "Next", ZotEZ2 will start downloading your zotero.sqlite file. Enjoy!
 Step 1 |
 Step 2 |
 Step 4 |
 Step 5 |
 Step 6-7 |
 Step 6bis-7 |